I – Introduction
You have to choose a scene from a famous English movie or series and dub the scene. You will have to record the voices but also the sound effects from the video. Then you will edit the video on Canva.
II – Lesson on rhythm
1 – Weak forms and strong forms
In English, grammatical words can be pronounced in two different ways depending on the context. These are referred to as “strong” and “weak” forms. For example, the strong form of the word “that” is /ðæt/, as in “give me that”. It is strong in that sentence because we emphasis on “that” one and not another one. The weak form of “that” is /ðət/, as in the sentence “I know that she will.” In English, there are about forty words that function in this way:
| WORDS | STRONG FORMS | WEAK FORMS |
|---|---|---|
| AND | /ænd/ | /ənd/ & /n/ |
| FOR | /fɔ:r/ | /fə/ |
| YOU | /ju:/ | /jə/ |
| WAS | /wʌz/ | /wəz/ |
| CAN | /kæn/ | /kən/ |
| HAVE | /hæv/ | /həv/ |
| TO | /tu:/ | /tə/ |
| OF | /ɔ:v/ | /əv/ |
2 – Stressed syllables and reduced syllables
When is syllable is stressed, it is difficult to make it different than the unstressed vowels. However, it is easier to realize an unstressed vowel as it is usually /ə/, sometimes /ɪ/ and even more rarely a tense vowels /ʌ/, /ʊ/, etc. We also use /i/ which is the neutralized i. It is in between /ɪ/ and /i:/ and is usually found at the end of words.
Then add the weak forms of grammatical words and try to pronounce these sentences:
- There are some bananas for you
/ðərə səm bəˈnɑːnəz fə juː/ - But of course… /bətəf ‘kɔːs/
III – Choosing a scene
1 – Legend

Name of the movie or the series in English

How difficult the video is: speed, vocabulary & articulation

Shows how much sound effect there is to create in the video

How many people needs to be in the group. It can be one more or one less.

Click on this icon to download the script of the video
2 – Scenes


IV – Reading the script
1 – Identify the characters
Download the script, watch the video and identify who is talking, who has the most text, which character is more difficult and choose accordingly. For characters that have very short lines do not assign them to one person only. One person can do one character and a few short lines.
If one person is finding this exercise too difficult, they can be assigned to the person making the sound effects.
2 – Pronunciation and rhythm
Check the lesson on rhythm we just did before and highlight all of the words that have more than one syllable. Then write down the correct sound under the unstressed syllables (/ə/, /ɪ/ or something else). If you’re not sure listen to the video one more time or check on WordReference the correct pronunciation.
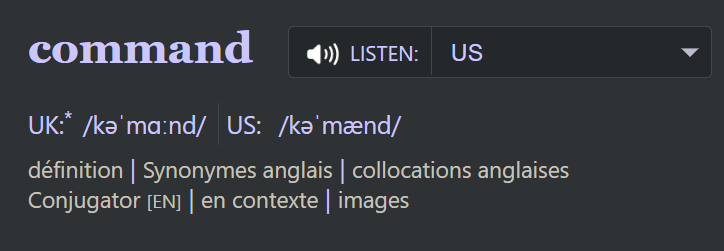
Sometimes the prononciation of certain words is going to be difficult. You can go on Word Reference to check the prononciation. Take a look at the phonetic symbol and be aware that the UK and the US prononciation might be different. You can also listen to the prononciation if the phonetic is too much.
3 – Stage directions
Follow the stage directions. In French they are called “didascalie” they give you information about the intonation, emotions, sound effects and so on. They are usually surrounded by brackets [] or parenthesis ().
4 – Practicing
Here are a few tips to practice your scripts:
– Practice your script before recording to gain in confidence and flow
– Pay attention to lip movements and try to synchronize your voice with the actors
– Capture and convey the emotions of the original performance
– Attempt to match the original actor’s voice: pitch, tone and speed
V – Recording
After some practice you will have to record yourself. You can either do a long recording or many recordings that you will add after. If you choose to make multiple recordings that will be easier to sync during the editing. I would also advise to record sound effects separately.
Record yourself on your computer or your phone with an app that allows you to have access to the files. We are going to need them for the editing.
VI – Editing
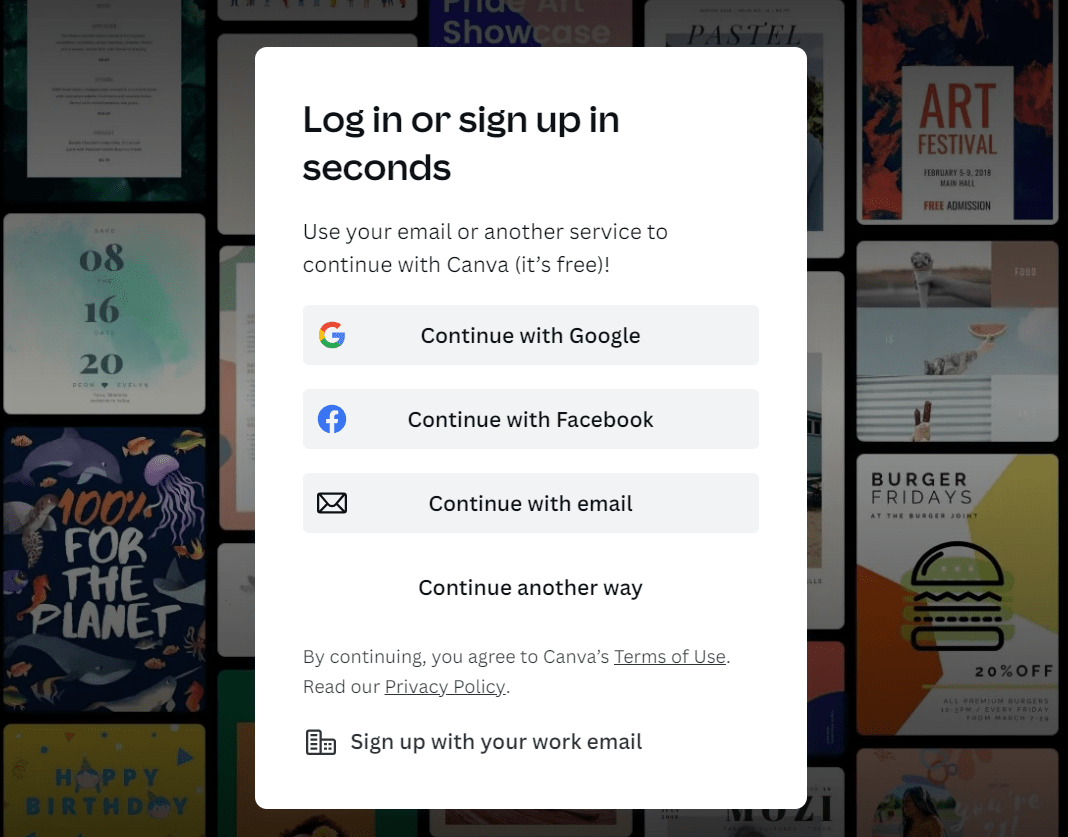
If you already have an account connect on Canva. If you do not you can create an account for free on their website with your Google account, Facebook account or with an email address.
Then give the email address of your account to the teacher to be added to the team! You can write your email address to the following pad:


Check your emails! You will receive an invitation to join the team, click on it and you’re ready to go!
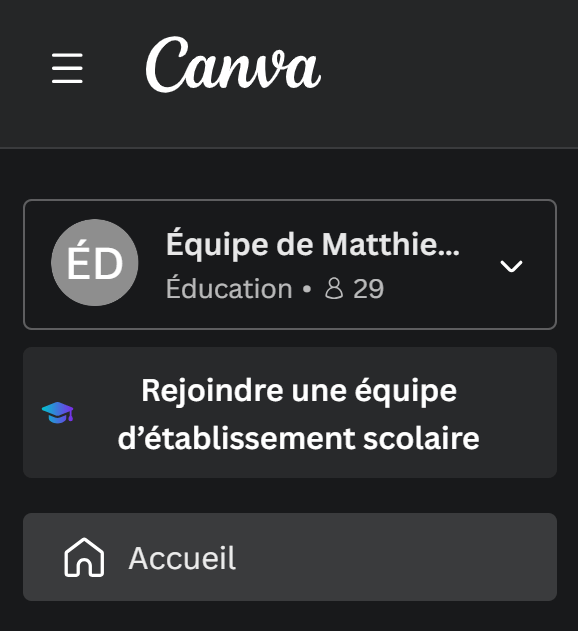
Now you should see a little box on the left saying “Équipe de Matthieu REY” that means you’re doing your work in the right team. This will be easier to have access to Canva pro but also to send me your work!
Then you can create a new video by clicking in the top-right-corner on “créer un design” and then choosing “vidéo”.
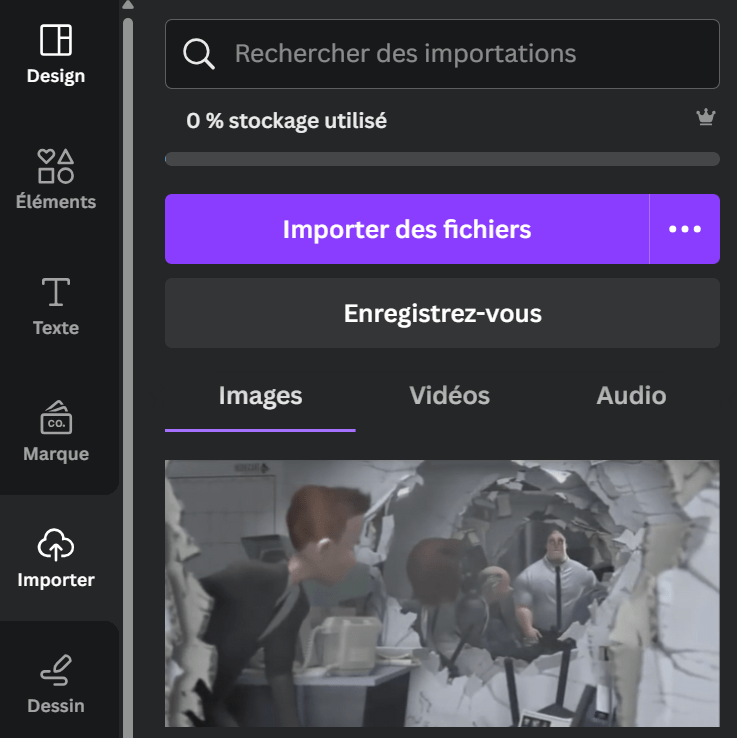
Now that you created your video you will have to import your recordings and the video of your choice. You can download the video on the blog by clicking on the three dots.
Now choose the files of your choice by clicking on “importer des fichiers”. You will find your videos in “vidéos” and your recordings in “audio”.
Now click on the video you just imported to insert it in your edit. Click on “audio” and click on your recording(s) to insert it / them in your edit.
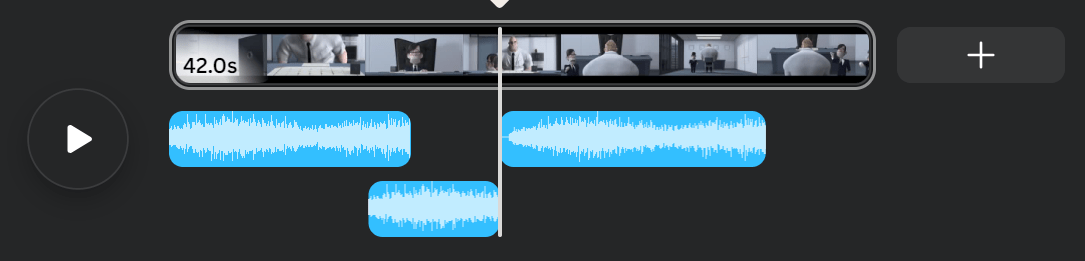
Now you should have a timeline that looks like this. You can drag and drop the video and the audio to adjust them to the right moment. You can drop them below to add a second line for sound effects for example. You can also adjust the length of the audio by dragging the end the recording.
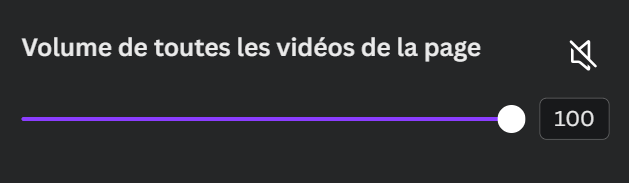
Do not forget to click on the original video, extract the audio and then click on volume on the right and move the volume down to zero or turn down the volume to synchronize your voice to the video.

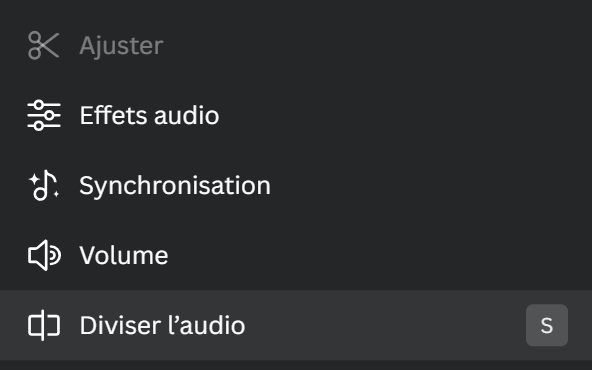
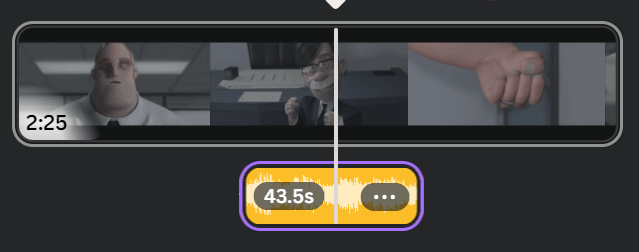
If you need to edit your recordings and remove some parts you can put your progression bar in white to the place where you want to cut your recording. Right-click the recording and click on “diviser l’audio”. Then you can delete the part you want to remove.
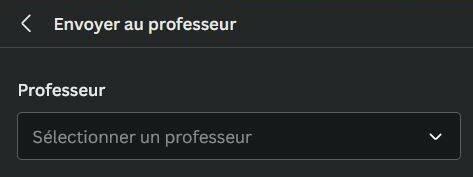
When you are done you can click on “envoyer au professeur” and choose Matthieu REY in the list. Then you can click on “envoyer”. Et voilà! You’re done!